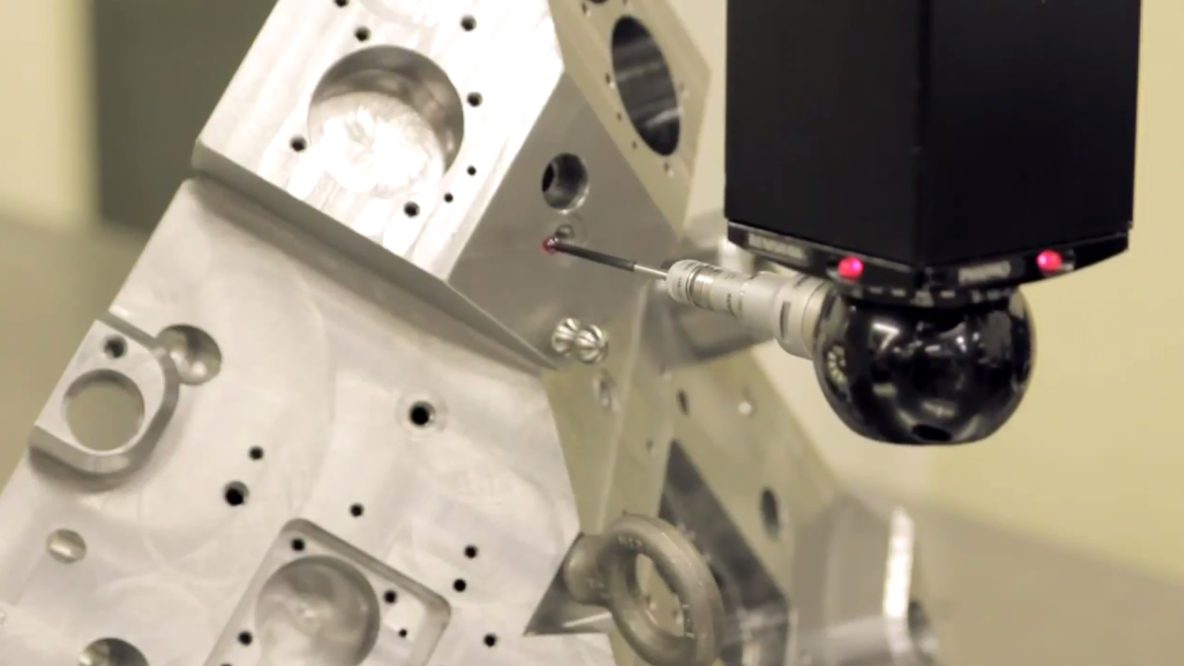
Plenty of tooling and engineering companies promise and guarantee that their processes, design craftsmanship and inspections will deliver durable and quality end products the clients have always needed. However, one thing Ahaus does differently than other tooling and engineering companies is maintain a transparent and open line of communication between its employees and clients. We understand how important your desired products are, and we want to keep the door open during our production process from start to finish. One process in particular keeps clients coming through our doors: the coordinate measuring machines (CMM) inspection process.
A CMM uses a probe to investigate point coordinates on a work piece surface and inspect its critical dimensions. Ahaus has two CMM inspection machines and a full-time team dedicated to specializing and focusing on inspections, and we welcome clients in our facilities to be involved in our inspection process. Over the years, we have found that clients prefer to see their part or equipment in the process of being inspected on the CMM machine verses reading the final inspection report.
One of our past clients has said that Ahaus employs plain-speaking, straightforward people. Delivering faultless products is our number one goal in addition to providing the best customer service possible. We start by taking X, Y and Z axes grids to determine the worktable position. We then take those points to determine size and dimensions for products. With tight tolerances as small as two to three ten- thousandths of an inch(or even smaller), we craft what you want or reverse engineer parts that may have been missing original blueprints. Our software prints 3-D images and pinpoints all dimensions in a more efficient and faster process than most touch-probe inspections.
The CMM inspection process not only produces impeccable final products, it also acts as a backup blueprint to find any possible causes of tolerance failures. We show visiting clients what the tolerances and dimensions are during and after production at Ahaus. Once the final part or equipment is in their facility, they can then compare the dimensions recorded against what they see. This comparison exchange saves not only a lot of time, but money, too.
Many tooling and engineering companies offer a CMM inspection process, but we enjoy walking clients through the process and showing them how we master their designs. To hear more about our CMM inspection process, contact us or send a CAD drawing over for evaluation.


