Capabilities
Whether in manufacturing systems or in finished products, the integrity of a single part can determine success or failure. Ahaus specializes in precision machining highly complex parts to a customer’s most critical dimensional specifications. We have a 75,000 Sq. Ft. facility with more than 38,000 Sq. Ft. devoted to manufacturing.
A broad range of CNC machining and CAD/CAM programming capabilities ̶ precision boring, grinding and wire EDM equipment ̶ and extensive experience machining non-traditional metals, alloys and ceramics all combine to offer you a comprehensive metalworking resource unique in the industry.
Modern Equipment Automation
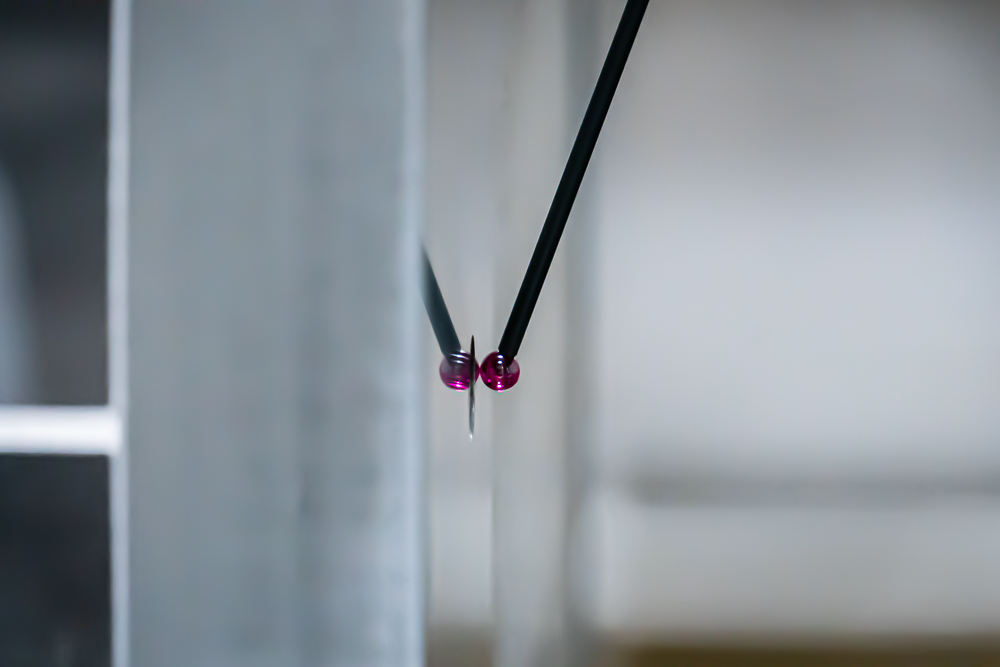
The Ahaus machining group has more than two dozen precision CNC machining centers which can handle everything from the most critical tolerances and complex technologies to large parts. Our inspection department is equipped with the most modern coordinate measurement machines (CMMs) to achieve verifiable inspection tolerances to .0002 in. (5 microns).
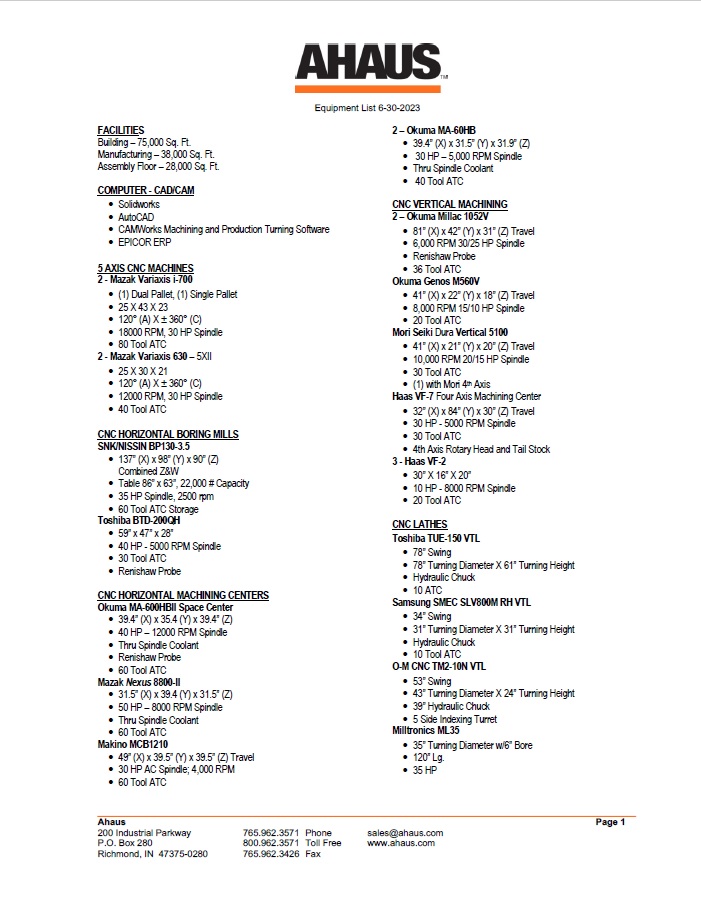
Among our precision machining equipment are:
- SNK/Nissin CNC horizontal boring mill, 138 in. x 98 in. x 90 in. with 64 in. x 84 in. rotary table
- Two ea. 5-axis Mazak Variaxis machining centers
- Two ea. 4-axis CNC horizontal boring mills, 40 in. x 40 in. x 40 in. cube
- Milltronics lathe, 35 in. diameter x 120 in.
- O-M VTL 50 in. diameter x 30 in.
- Wire EDM
- Grinding and surface grinding to 20 in. x 72 in.
- Two ea. G & L CMMs, 40 in. x 48 in. x 84 in.


Inspection
The successful design and manufacture of precision equipment requires a tenacious commitment to quality. It also takes an inspection group armed with the best equipment, rigorous procedures and, most importantly, know-how gained through experience with critical tolerance precision measurement from small through large part components. Ahaus inspection technicians relentlessly pursue perfection with attitude … an unbending devotion to the highest standards of quality.
Our inspection capabilities include:
- Two large CMMs for inspection of parts and assemblies
- Sheffield Endeavor with 80 in. x 48 in. x 40 in. of travel, Renishaw PH10Q probe head, Renishaw TP200 touch probe and PC-DMIS software
- G&L with 80 in. x 50 in. x 40 in. travel with indexable Renishaw probe
- One portable 6-axis Romer CMM inspection arm with a 48 in. radius to inspect machines, equipment, parts, etc., anywhere in the shop
- Setup to inspect customer parts during runoff to ensure that assembly or machining operations are producing parts to required tolerances
- SPC software to ensure achievement of statistical requirements
- Inspection tolerances to .0002 in. or 5 microns
- Climate-controlled shop to ensure critical manufacturing and inspection tolerances
Need an Expert?
Need the Proof?
“I just finished dry running the fixture. Everything looks good. You guys did a fantastic job. I have yet to run a fixture like this where I have not had to trim a little here or there for clearance.”
APPLICATIONS MANAGER
National Machine Tool and Inspection Equipment Company


